
I thought the same thing when my son graduated from kindergarten this year and I immediately jumped on Pinterest. Shocker, I know...
I stumbled across these adorable graduation cards! As a teacher, I always loved to give cash as a gift because I could use it wherever, whenever, however I wanted to! But, because I wasn't able to give $100, I wanted the packaging to be ultra special.

The lady who made these is super talented with paper and probably scrapbooking, both of which I could never really get in to. So, I had to come up with a new and simplified version of this card because it was soooo perfect! Not to mention, you can't always use cash to show the year! Now was definitely the time! And, as most of you know, I don't plan ahead for anything so I had to make it work asap!
Here's my quickie version:


Here's the process:
1. Take an 8.5x11 sheet of cardstock of your favorite patter and cut it in half long-way. Why those dimensions? Because it's easy. You could do whatever dimensions you want. When picking a paper pattern, consider how it's going to look as a border. Don't pick a huge print because you will only see little bits of it going around the white paper.

2. Fold the top corner over to meet the side. Remember how you used to do this when you passed notes in class? Yep, do it just like that! Then open it back up and do the opposite corner to the other side. You should end up with folds that make an X.


3. Fold the top of the paper over so that the fold is on the center of the X. Open it up. You should have an * shape from all the folds. Keep in mind it is all on one side of the paper... namely, the top.

4. Now focus right here. The next thing you will do is stick your finger in the halfway fold and pull it toward you. Do that on both sides. You can see from the shadowing below how that fold where my finger is is popped up.


Once both sides are popped up, the card will naturally fold where the current folds are and make a triangle at the top.

5. Smoosh that folded section down really well to lock those folds in. You want them to be clean and crisp. Sometimes I use the back of a spoon to press really hard. Once that's done, fold the bottom of the card up almost to meet the bottom of the triangle. I'd say you leave about 1/4" of space between the two. And, again, press that fold down really well.

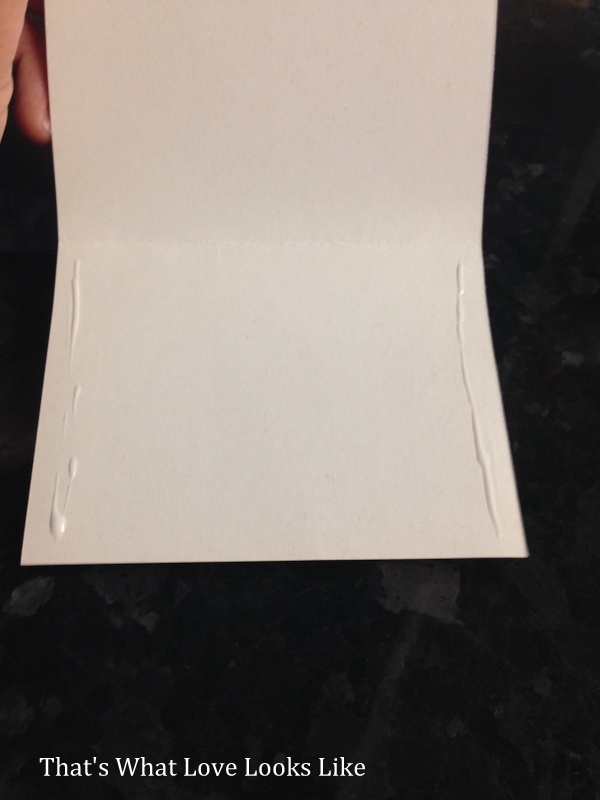
6. Use a little white glue on each side of the paper below fold to make the pocket. Key here is A LITTLE. White glue has a lot of water in it and will buckle paper if you use too much. Dot, dot, not a lot! :) Set your cell phone on top of it while it dries. Well, you can use anything. I just had my cell phone handy!
7. Next I cut the white paper for the message part of the card. I didn't take pictures of this but I used white cardstock and cut a size that would fit on the pocket area of the card but still leave a cute amount of border. I'm pretty sure it was something weird like 3.75 x 4.25 or something like that. It was trial-and-error for me so don't freak out if it is for you. And, again, I used a very tiny amount of glue to get it on there, popped the cell phone down on it again, and let it do its thing.
8. Next I cut the cardstock for the graduation hat. I don't have pictures of that process, but what I did was find a size that would cover the triangle part of the cardstock without covering too much of the white sheet I was going to put on the bottom. I think it was 5" x 5". I glued it to the triangle part of the card base with what ended up being too much glue, so only use a tiny bit. I know I sound like a broken record, but it's super important!
9. Now for the tassel. I used embroidery floss that I had stowed away somewhere and wound it around my hand lots of times, as if I were making a pompom, but not quite so many!

10. I then took a piece of embroidery floss (about 5 inches long) and tucked it in by the base of my hand to make the string that holds the tassel onto the hat. I knotted it and then cut off the little piece of extra string that was left over, being sure I left enough to connect it to the button in the center of the "hat".


Then I tied a little piece of the floss around the entire tassel below the first knot to create the graduation tassel look. (See below.) Then I cut the length of the tassely dangly things to the length I wanted.
10. After the tassel is made, hot glue it to the center of the side of the hat. Then glue the string to the center of the hat. Cut the excess string. Glue a button to the center of the hat. {Public Service Announcement: If you keep forgetting to pick up the glue gun from the library of the elementary school as did I, you can use a lighter and an extra glue stick to glue things on. It IS INDEED inefficient, but great in a pinch.}

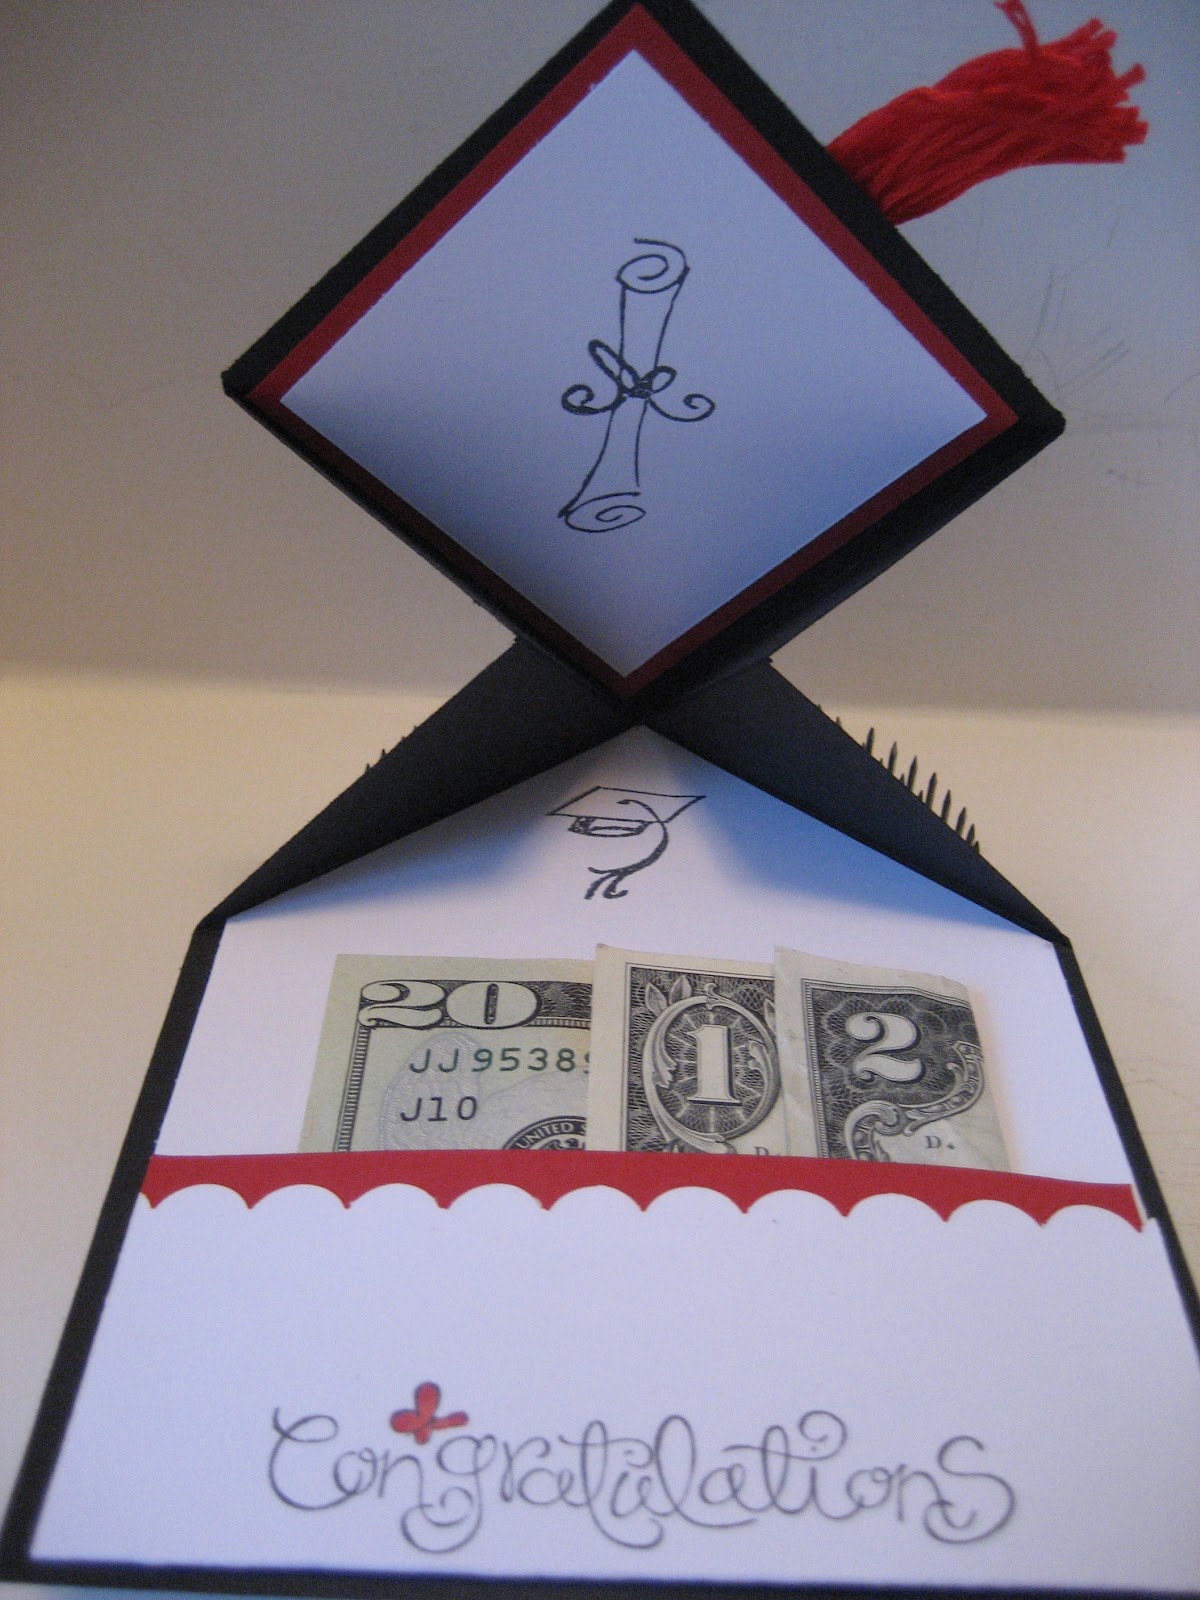
11. Now that the hat is officially done, open the card up to see how it all is laid out. I noticed that I didn't like the raw edge of the white triangular part and the blue hat, so I wanted to add a scrap of cardstock. I cut it to fit that little square space made by those two triangle shapes and glued it in with a little glue. You can see it in the final picture. It's the red square on the diagonal at the top interior of the card.

12. I closed the card once again and wrote "Class of '27" around the edge of the hat and had my son write is name in the extra white space above "Class of '27" once the card was open.

13. Add the cash! Here's the best part! Tuck a $20, a $1, and a $5 in the pocket, folded so you can see it. Now, in the picture I used a $10 but I went back in and changed that because it didn't make semantic sense. I replaced it with a $1 so it read better. (Sorry Ms. Anderson and Ms. Hoover. You got shafted.)

And, that's it! Really not hard and doesn't require any fancy scrapbooking tools or even to go shopping! I used everything I had stored in my craft cabinet!
Thanks to the fine lady that came up with this adorable idea! The teachers LOVED it!
What was the most useful gift/ cute gift wrapping you have ever received?
No comments:
Post a Comment